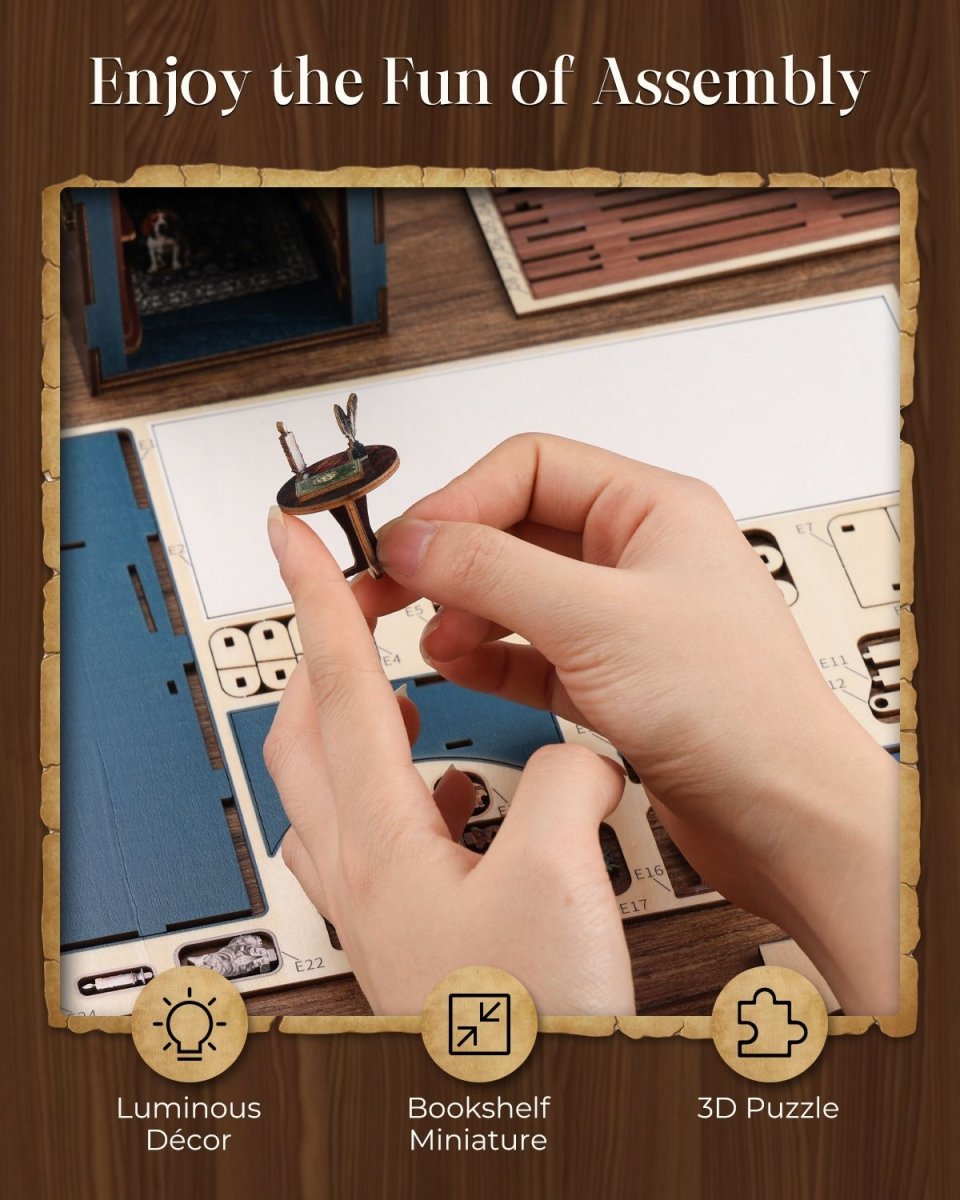
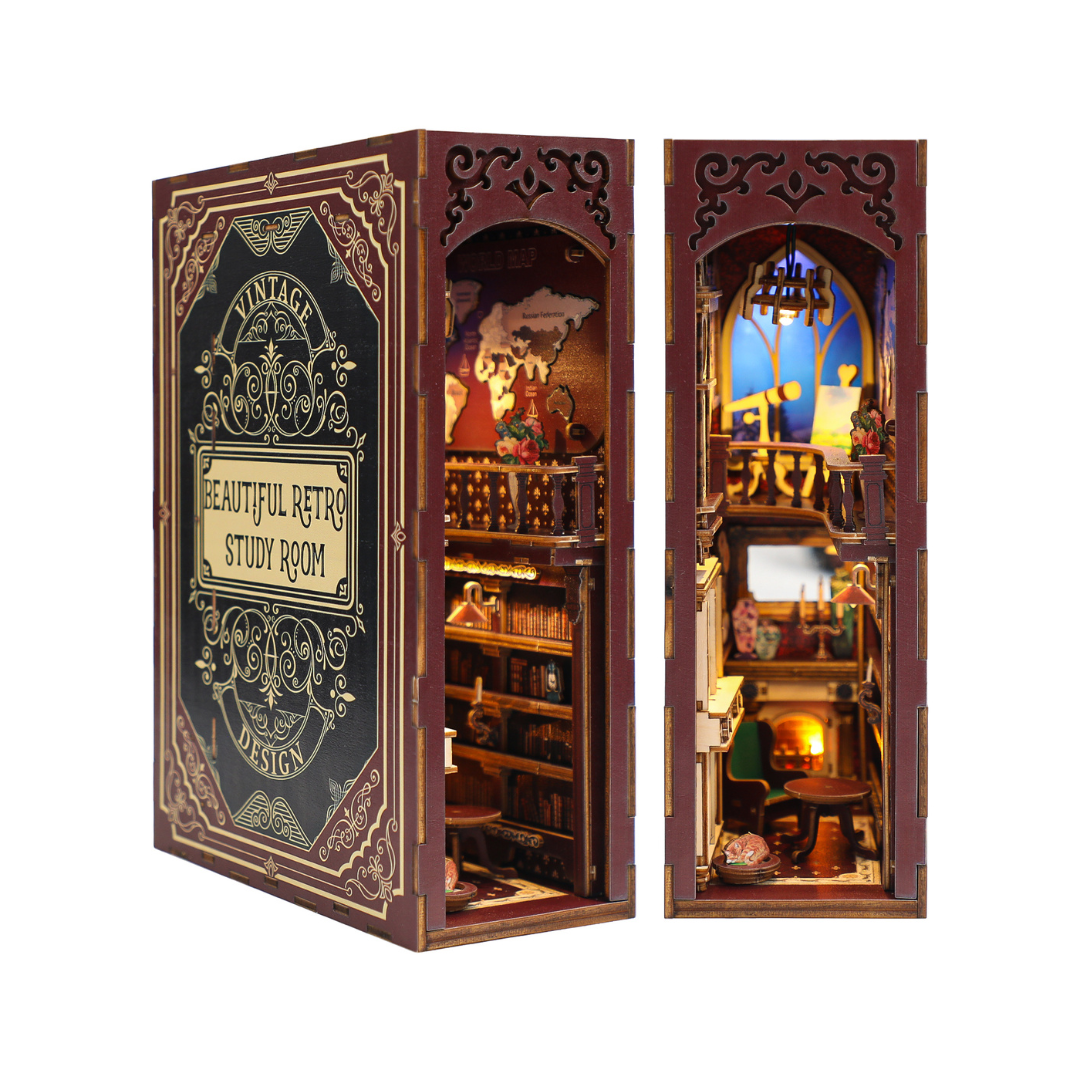
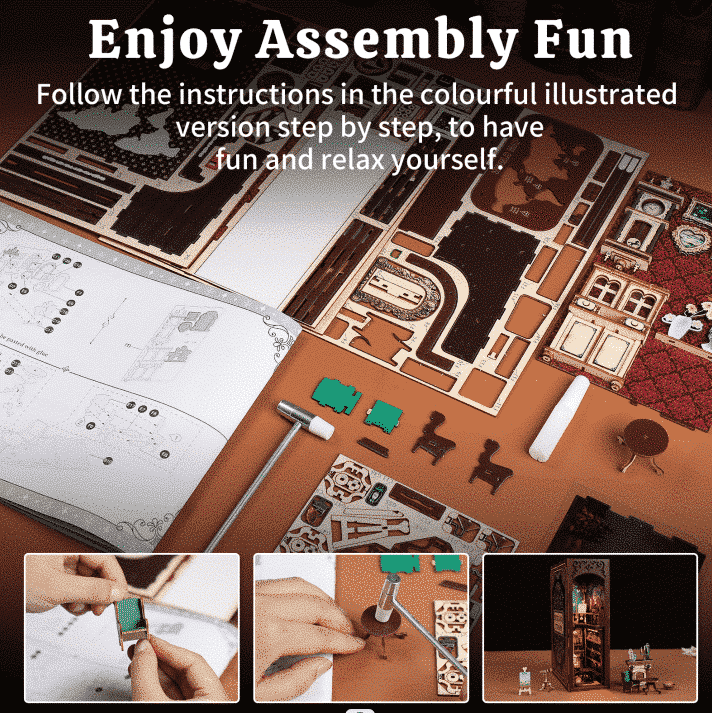
In many cases, how to connect the light and power supply is one of the most difficult parts in assembling a wooden book nook kit. I will guide you on how to make it step by step.
Here's the light set wiring guide - you'll need the battery box for this step. First of all, pick out all the red wires and twist the wire ends together. If the wire ends are too short, carefully strip a bit of the insulation off. After making sure the wire ends are tightly twisted, take the insulating tape and wrap the red wire connection completely, pressing it firmly. Next, pick out all the yellow wires and repeat the same steps to twist them tightly. Then, pick out all the black wires and repeat the same steps to twist them tightly.
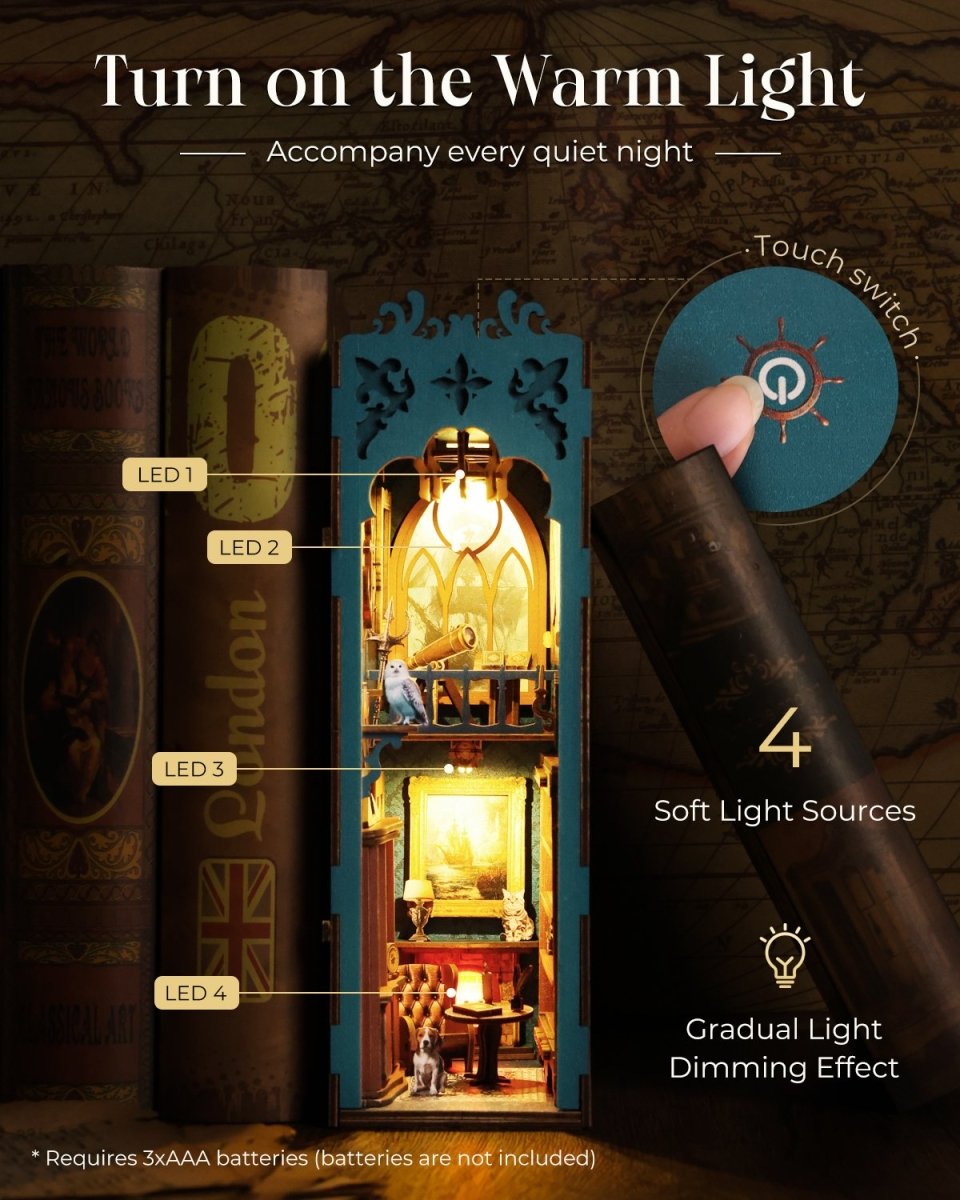
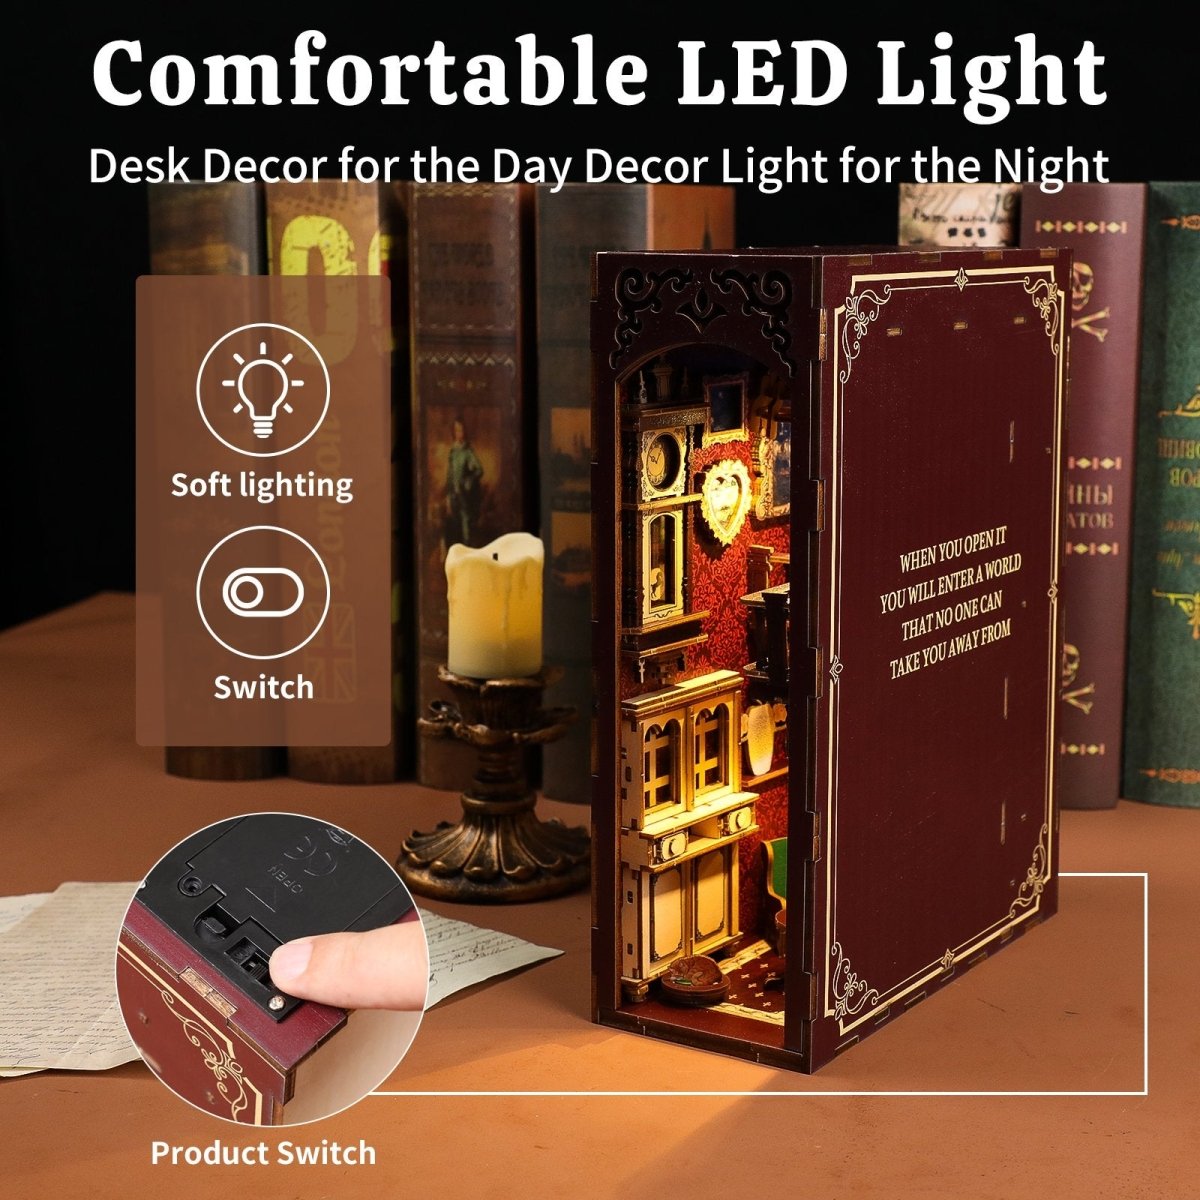
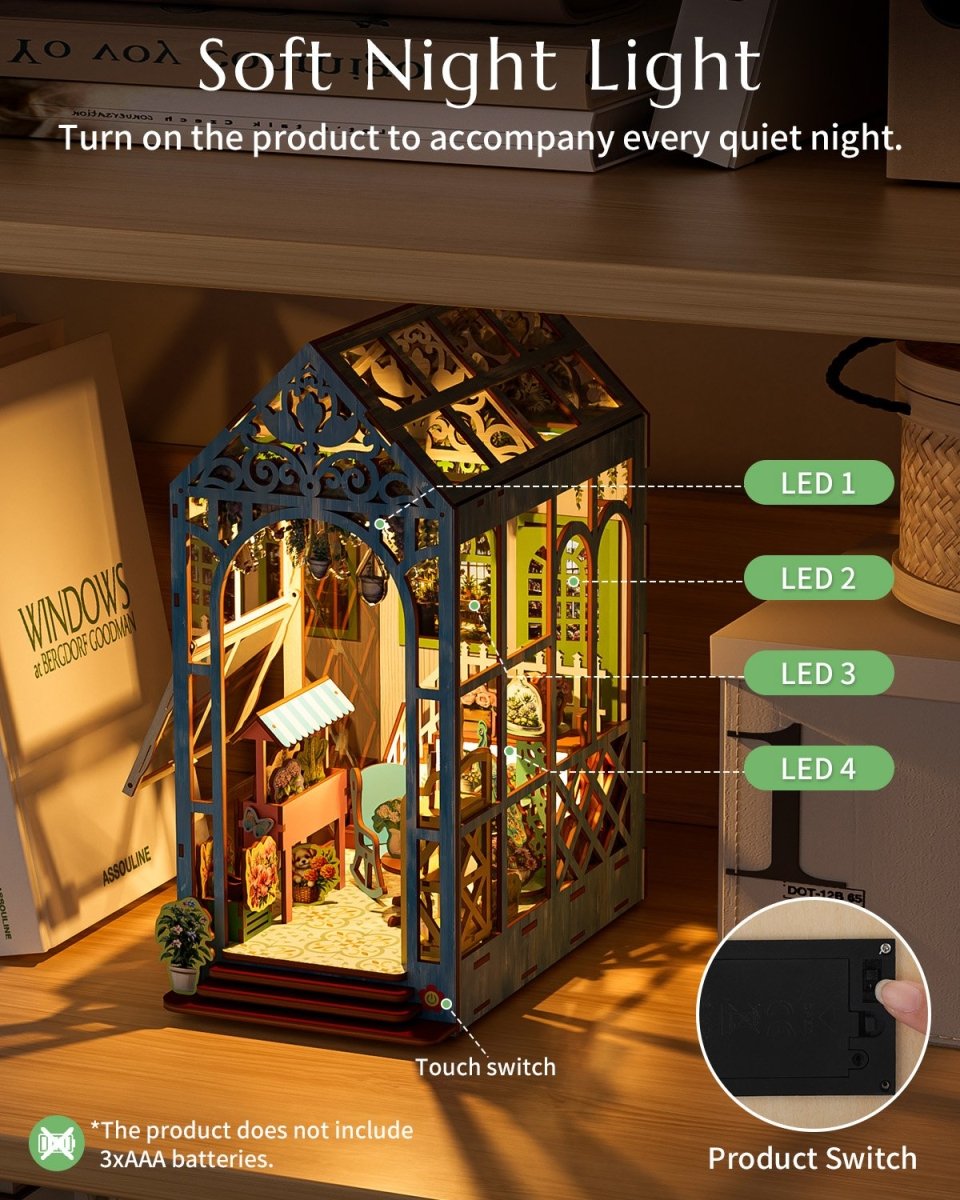
Finally, tidy up all the wires and place them neatly inside the box. Insert the batteries, turn on the switch, and tap the touch control to check if the lights work. (The touch control position may vary by product - please refer to the manual for details.) If the light doesn’t turn on, check again to make sure all the wires are properly connected. If everything works properly, use a screwdriver and the four screws to secure the battery box in place. First, secure the screws in the diagonal holes, then tighten all the remaining screws. The light set wiring is complete. Please follow the product manual for the remaining assembly steps.